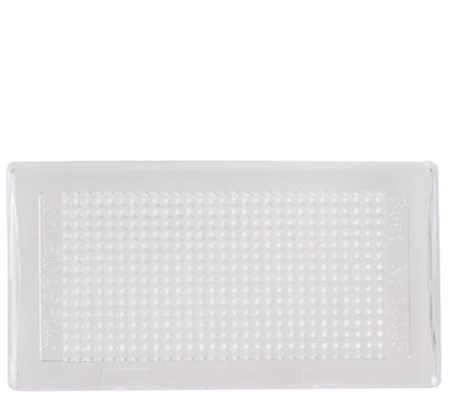
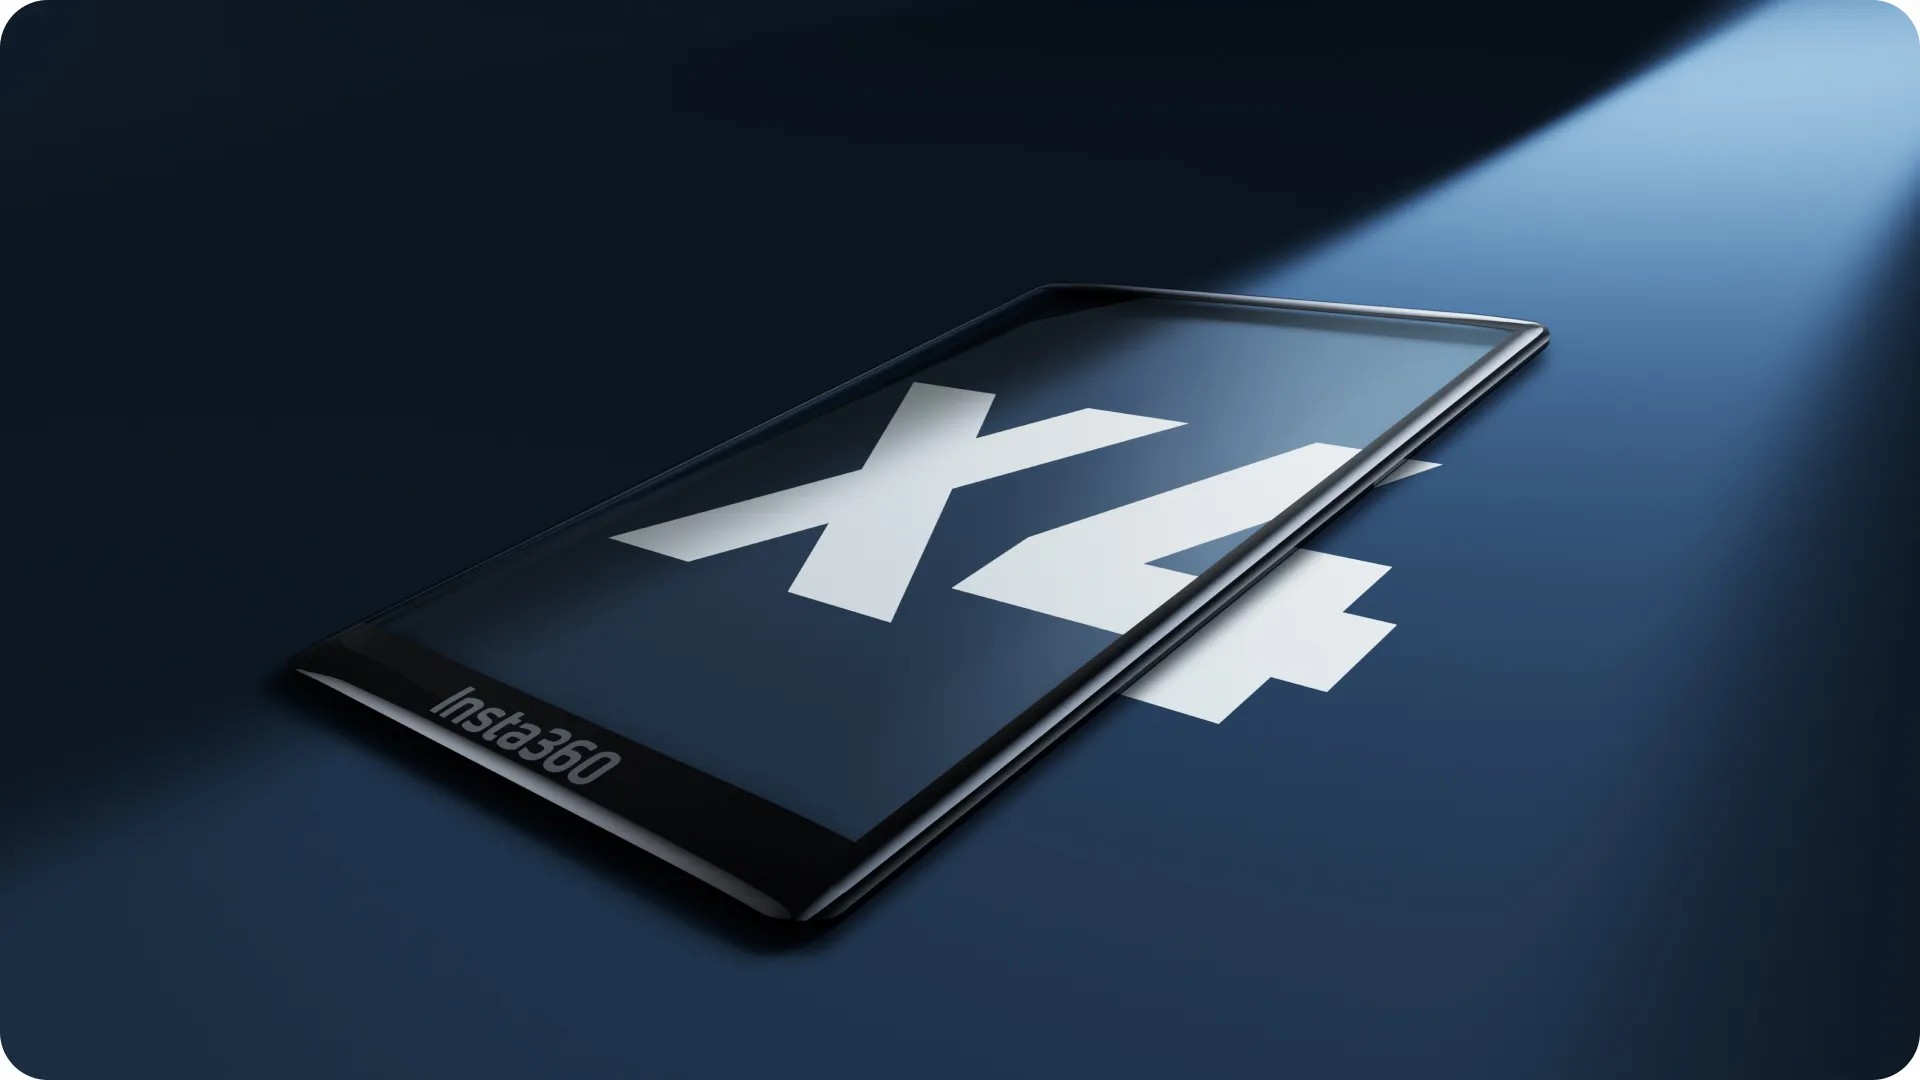
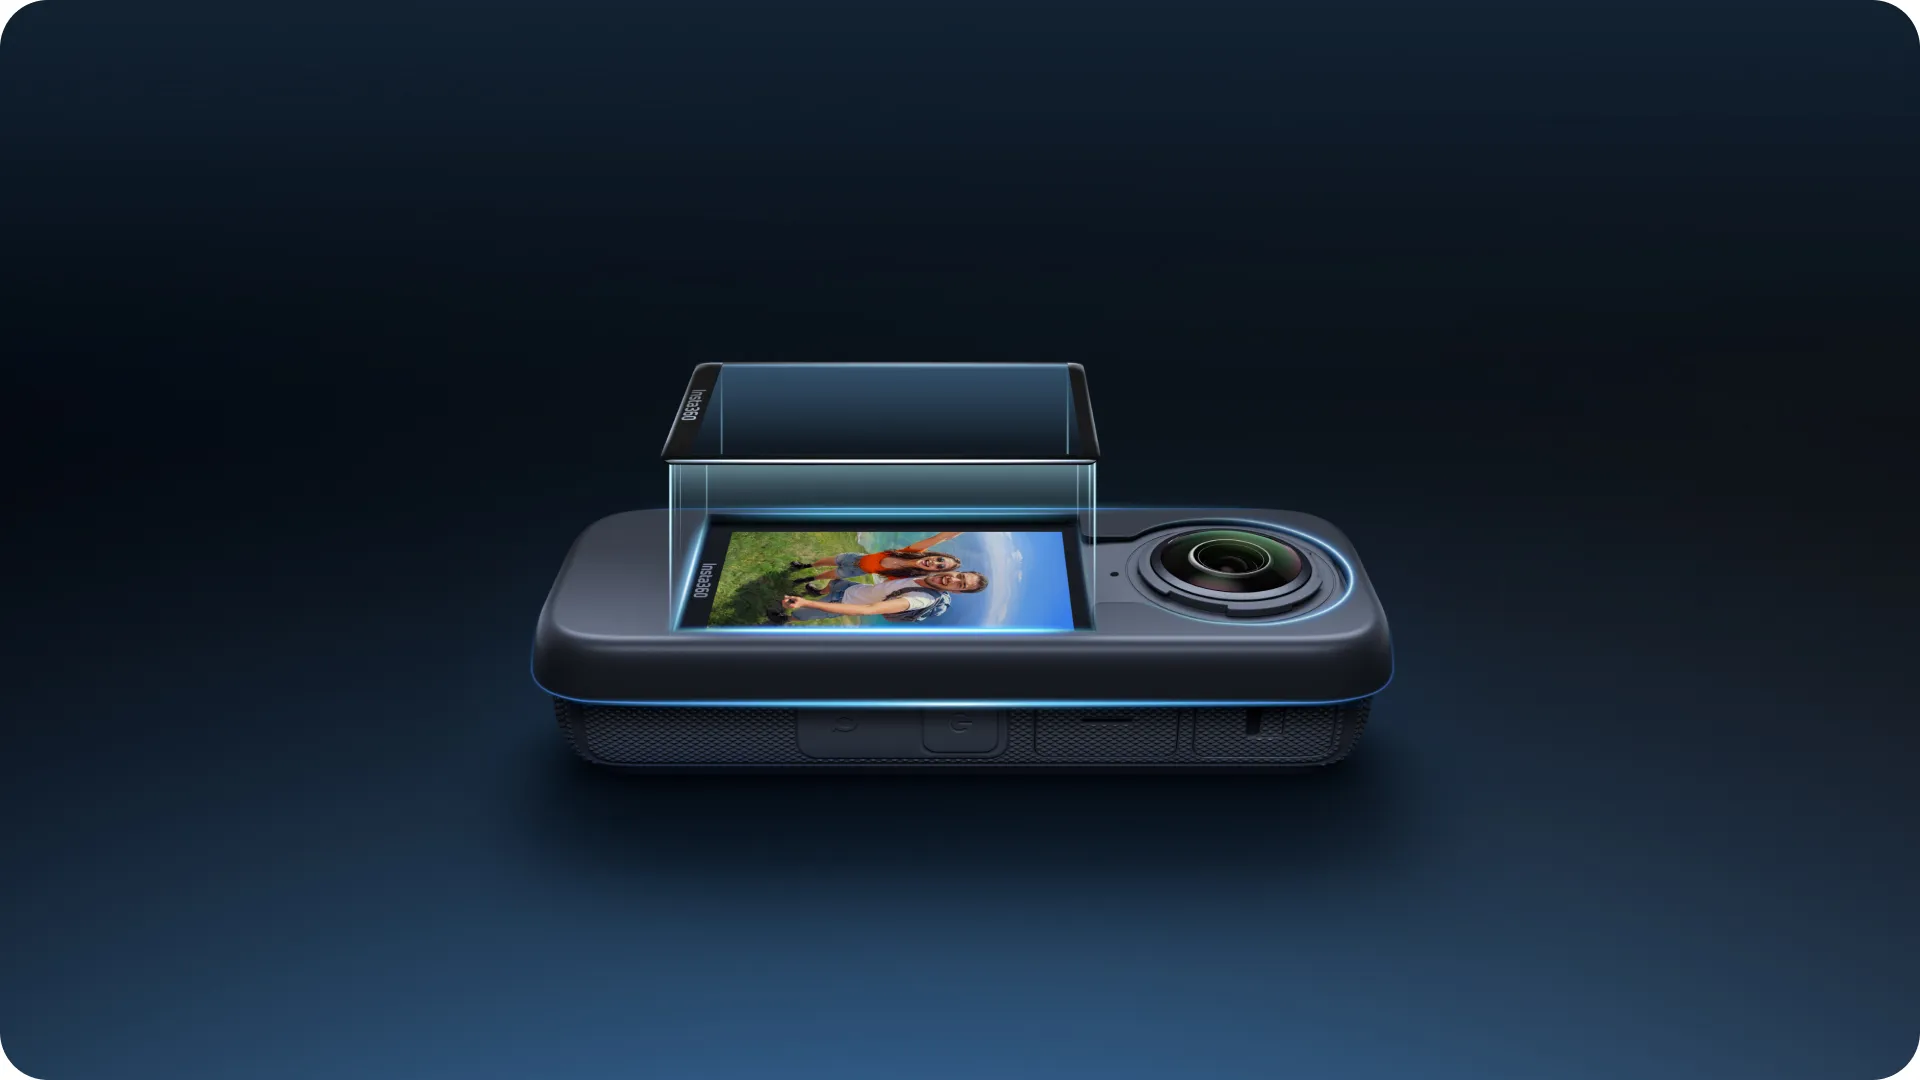
Insta360 X4 Screen Protector
JPC
  jpc@jpckemang.com   021-7180487
 

Insta360 Accesories

Insta360 X4 Screen Protector

Rp 349.000   Rp 299.000 Warranty: Garansi Resmi 3 Bulan
Promo :
  • Discount Rp 50.000

Periode :

Specification :

  • Custom curved design for a precise fit with flawless coverage.
  • Strong tempered glass for greater protection.
  • High-definition display and crystal clear transparency.
  • Comes with a Protector Application Kit.
  • Included :
  • 1x Screen Protector
  • 1x Alignment Tool
  • 1x Scraper
  • 1x Film Removal Stick
  • 1x Protector Application Kit


Ingin cicilan 0% ? Silahkan klik :

lazada.co.id tokopedia.com blibli.com shoope.co.id bukalapak.com


Screen Protector

Clear display, extra protection.
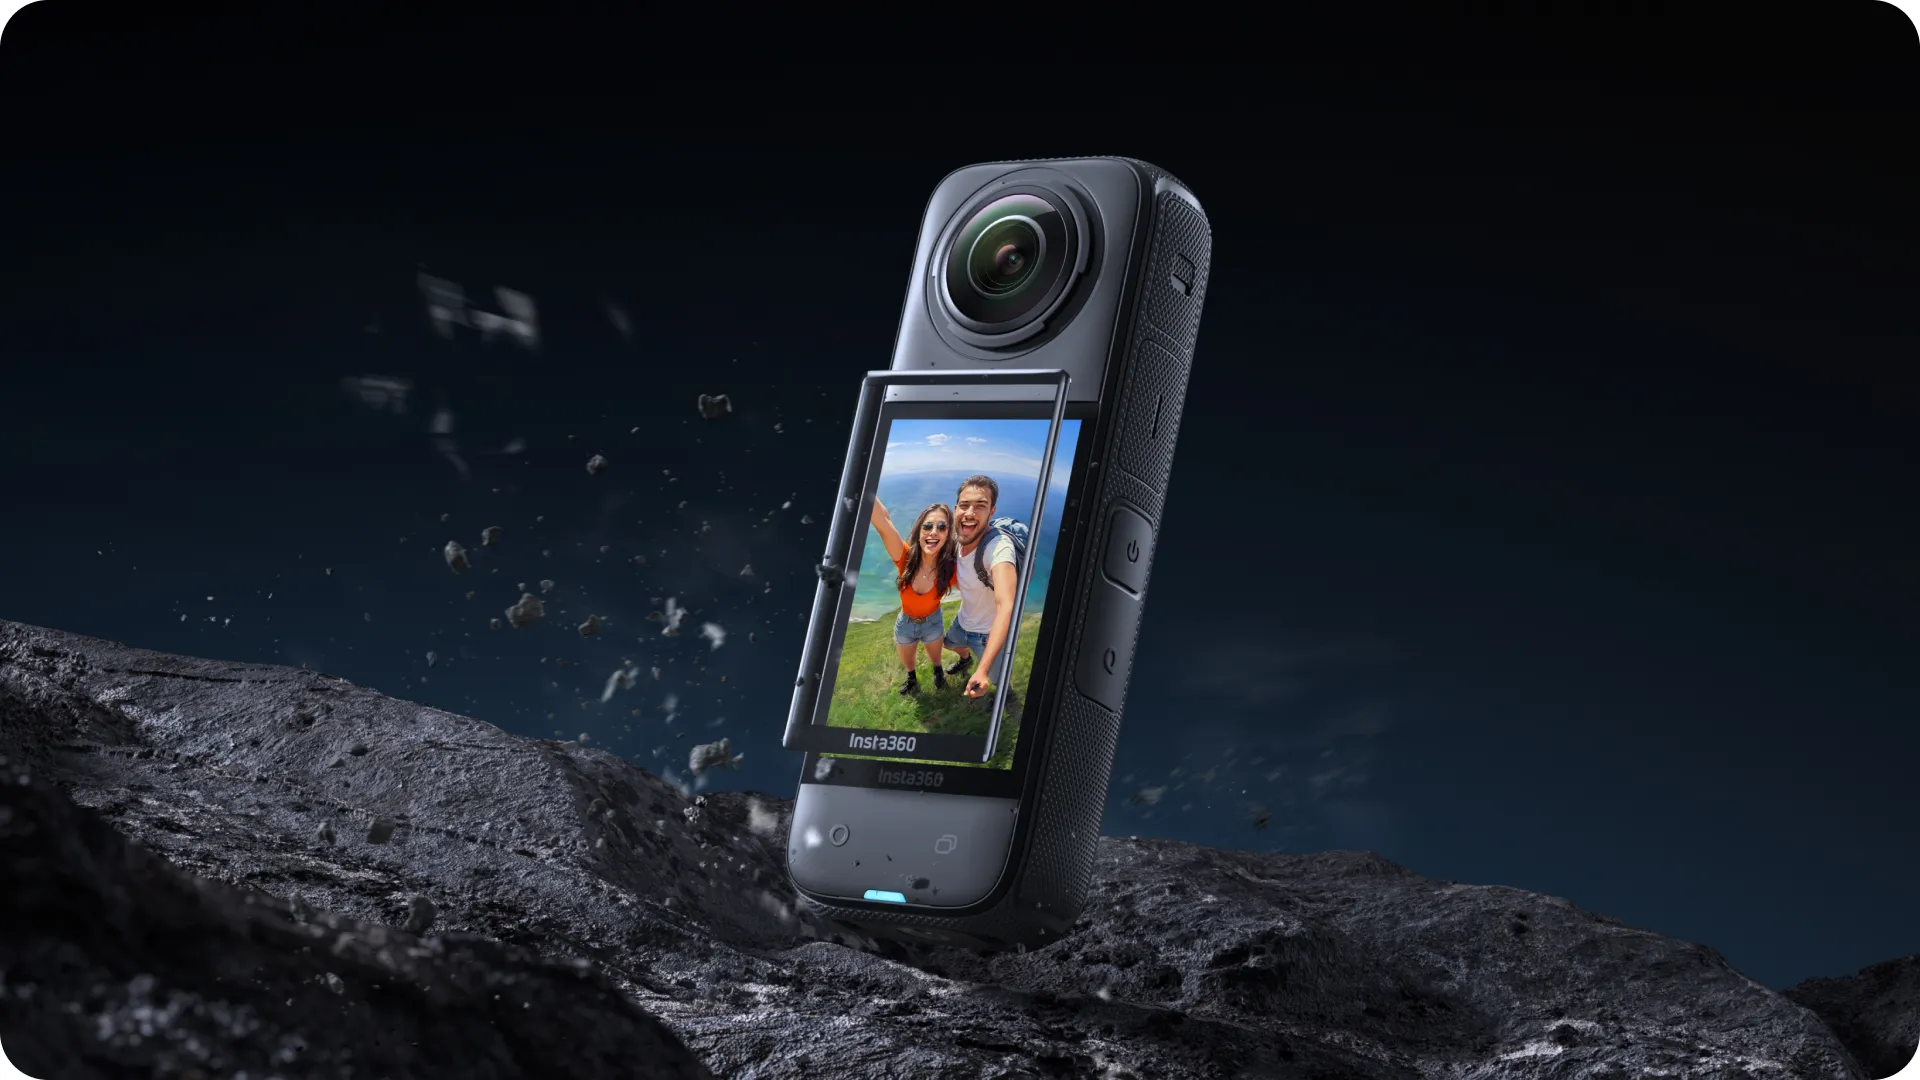
Fits like a glove.

Custom-designed for X4 to fit every inch of the screen perfectly. No spot left uncovered.

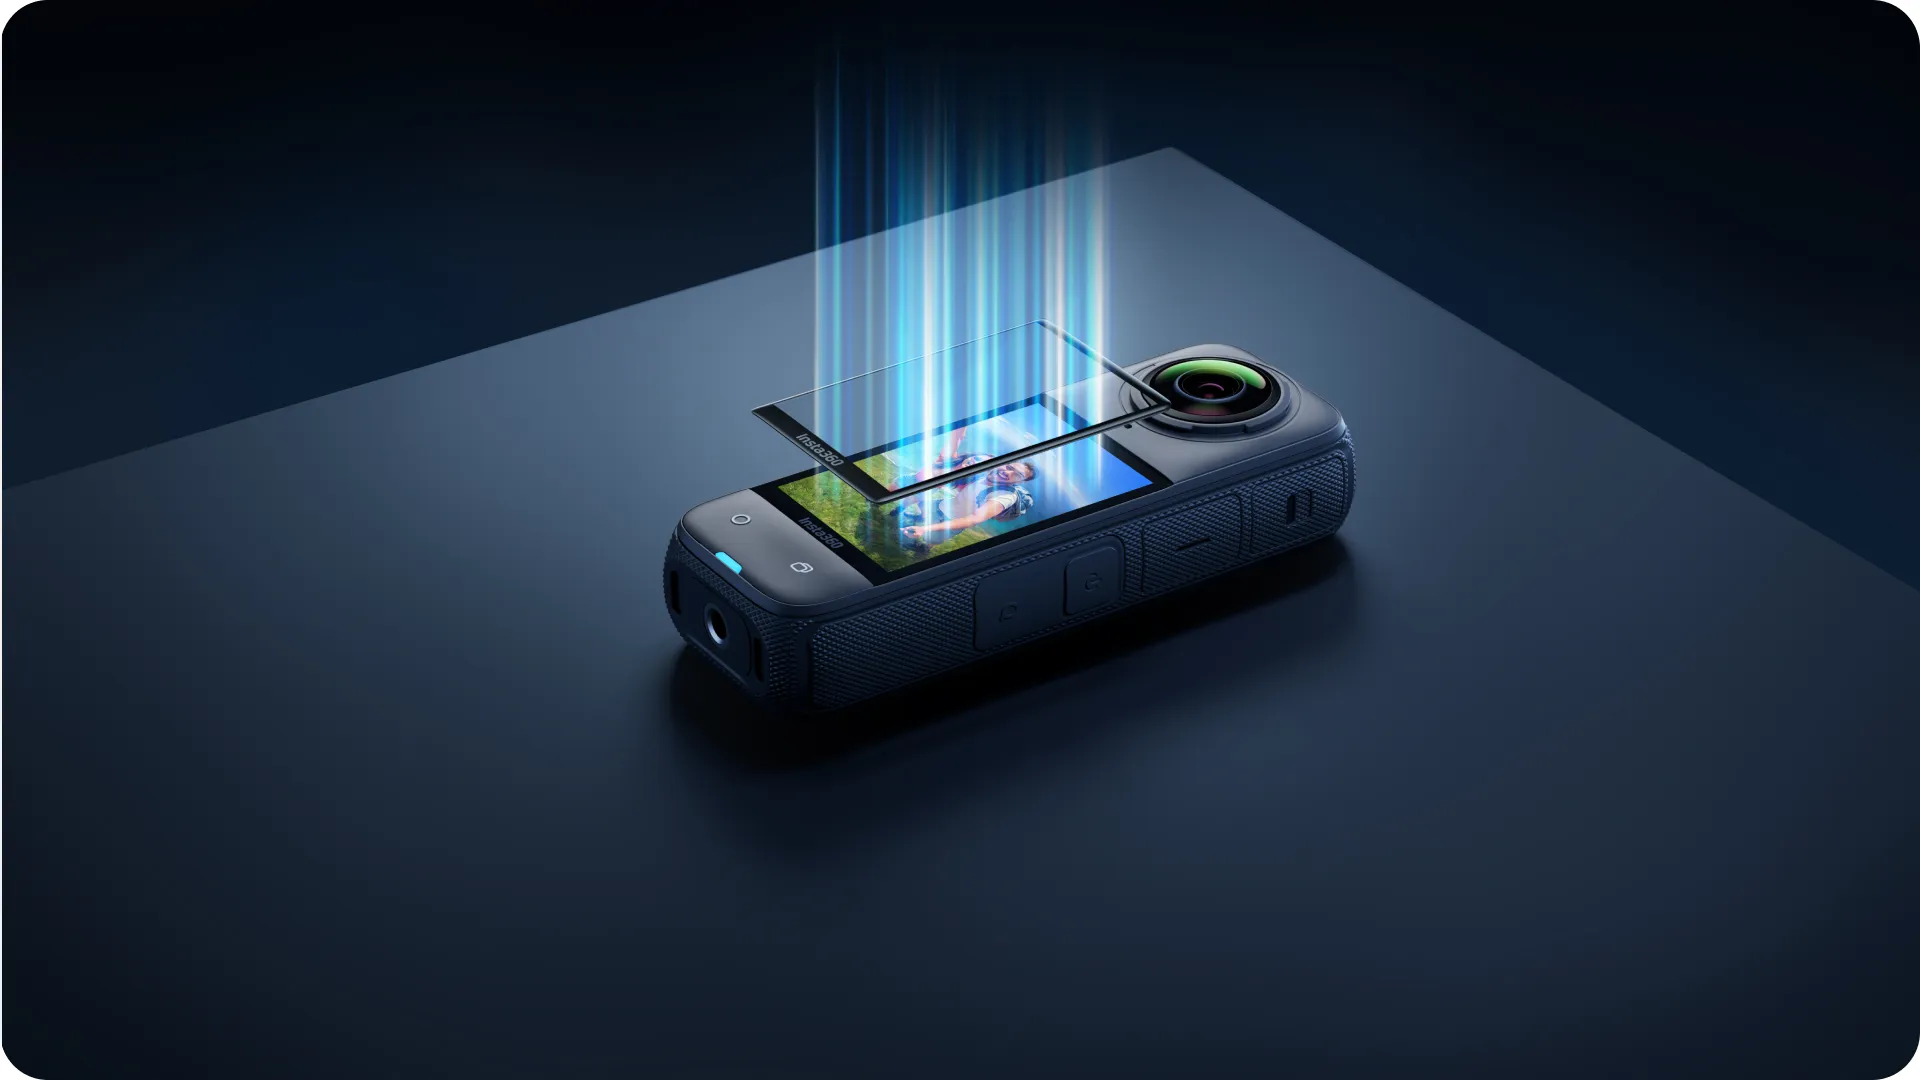
Extra protection for your camera.

High-strength tempered glass that's impact and scratch-resistant. Don't worry 'bout a thing.

Take no notice.

With more than 90% light transmission, you get the same clarity and brightness from your X4. It's like it's not even there.

Easy to install.

Comes with a full Protector Application Kit for easy at-home installation. No bubbles, no hassle.

In the Box

1x Screen Protector

1x Alignment Tool

1x Scraper

1x Film Removal Stick

1x Protector Application Kit*

*Protector Application Kit contains: 1x Screen Cleaning Wipe, 1x Screen Cloth, 1x Dust Removal Sticker.

Specs
Material:

Tempered glass

Weight:

2.9g (0.1oz)

Dimensions:

39.4x61.2x0.9mm (1.55x2.4x0.03in)

How to Use

Installation

  1. Clean the screen using the screen cleaning wipe and screen cloth. Use the dust removal sticker to ensure the screen is clear of dirt.
  2. Position the alignment tool in line with the camera screen.
  3. Remove the film from the screen protector. Position the screen protector over the screen using the alignment tool, aligning the "Insta360" end of the screen protector with the "Insta360" end of the camera screen. Slowly move the screen towards the protector until it is covered, then remove the alignment tool. Avoid pressing down on the middle of the screen protector, as it could trap air bubbles underneath.
  4. Scrape from the lens end of the screen protector towards the "Insta360" end until the air bubbles are completely removed.


*Notes

  1. When removing air bubbles, scrape them from the lens end of the screen protector towards the "Insta360" end to prevent air bubbles from forming.
  2. Do not reinstall the same screen protector. Any dust that has collected on the screen protector may cause air bubbles and reduce adhesiveness.
  3. If the screen protector moves during installation, use the film removal stick to remove the screen protector and repeat the steps above. Do not completely remove the installed screen protector.
Video not available.
NEW REVIEWS

Related Products and Accessories